
Can I use Kumizine for a photography project rather than a text-heavy zine?
Yes. The core problem is still physical page order, spread planning, and print assembly. That matters just as much, and often more, for image-led work.
Photo zines
A photo zine usually breaks in the production stage, not the image stage. The pictures are ready, but the spreads, folding logic, page order, and print setup still need to become a physical object.
Kumizine helps bridge that gap. You choose the finished size, page count, and binding structure, then work from a print-ready layout instead of guessing how the book should assemble after printing, folding, and trimming.
A photo zine usually breaks in the production stage, not the image stage. The pictures are ready, but the spreads, folding logic, page order, and print setup still need to become a physical object.
Photographs are highly sensitive to sequence, scale, and adjacency. A spread break or page-order mistake can change how the work reads emotionally.
Once a photo project becomes a folded booklet or a more complex bound object, the production layout stops matching the reading layout. That is where many otherwise strong photo zines go off course.
Kumizine keeps the photographic decisions with you while it handles the mechanical side: imposition, signatures, sheet order, and assembly logic.
The goal is to solve production structure early, then make visual decisions inside a layout you can trust.
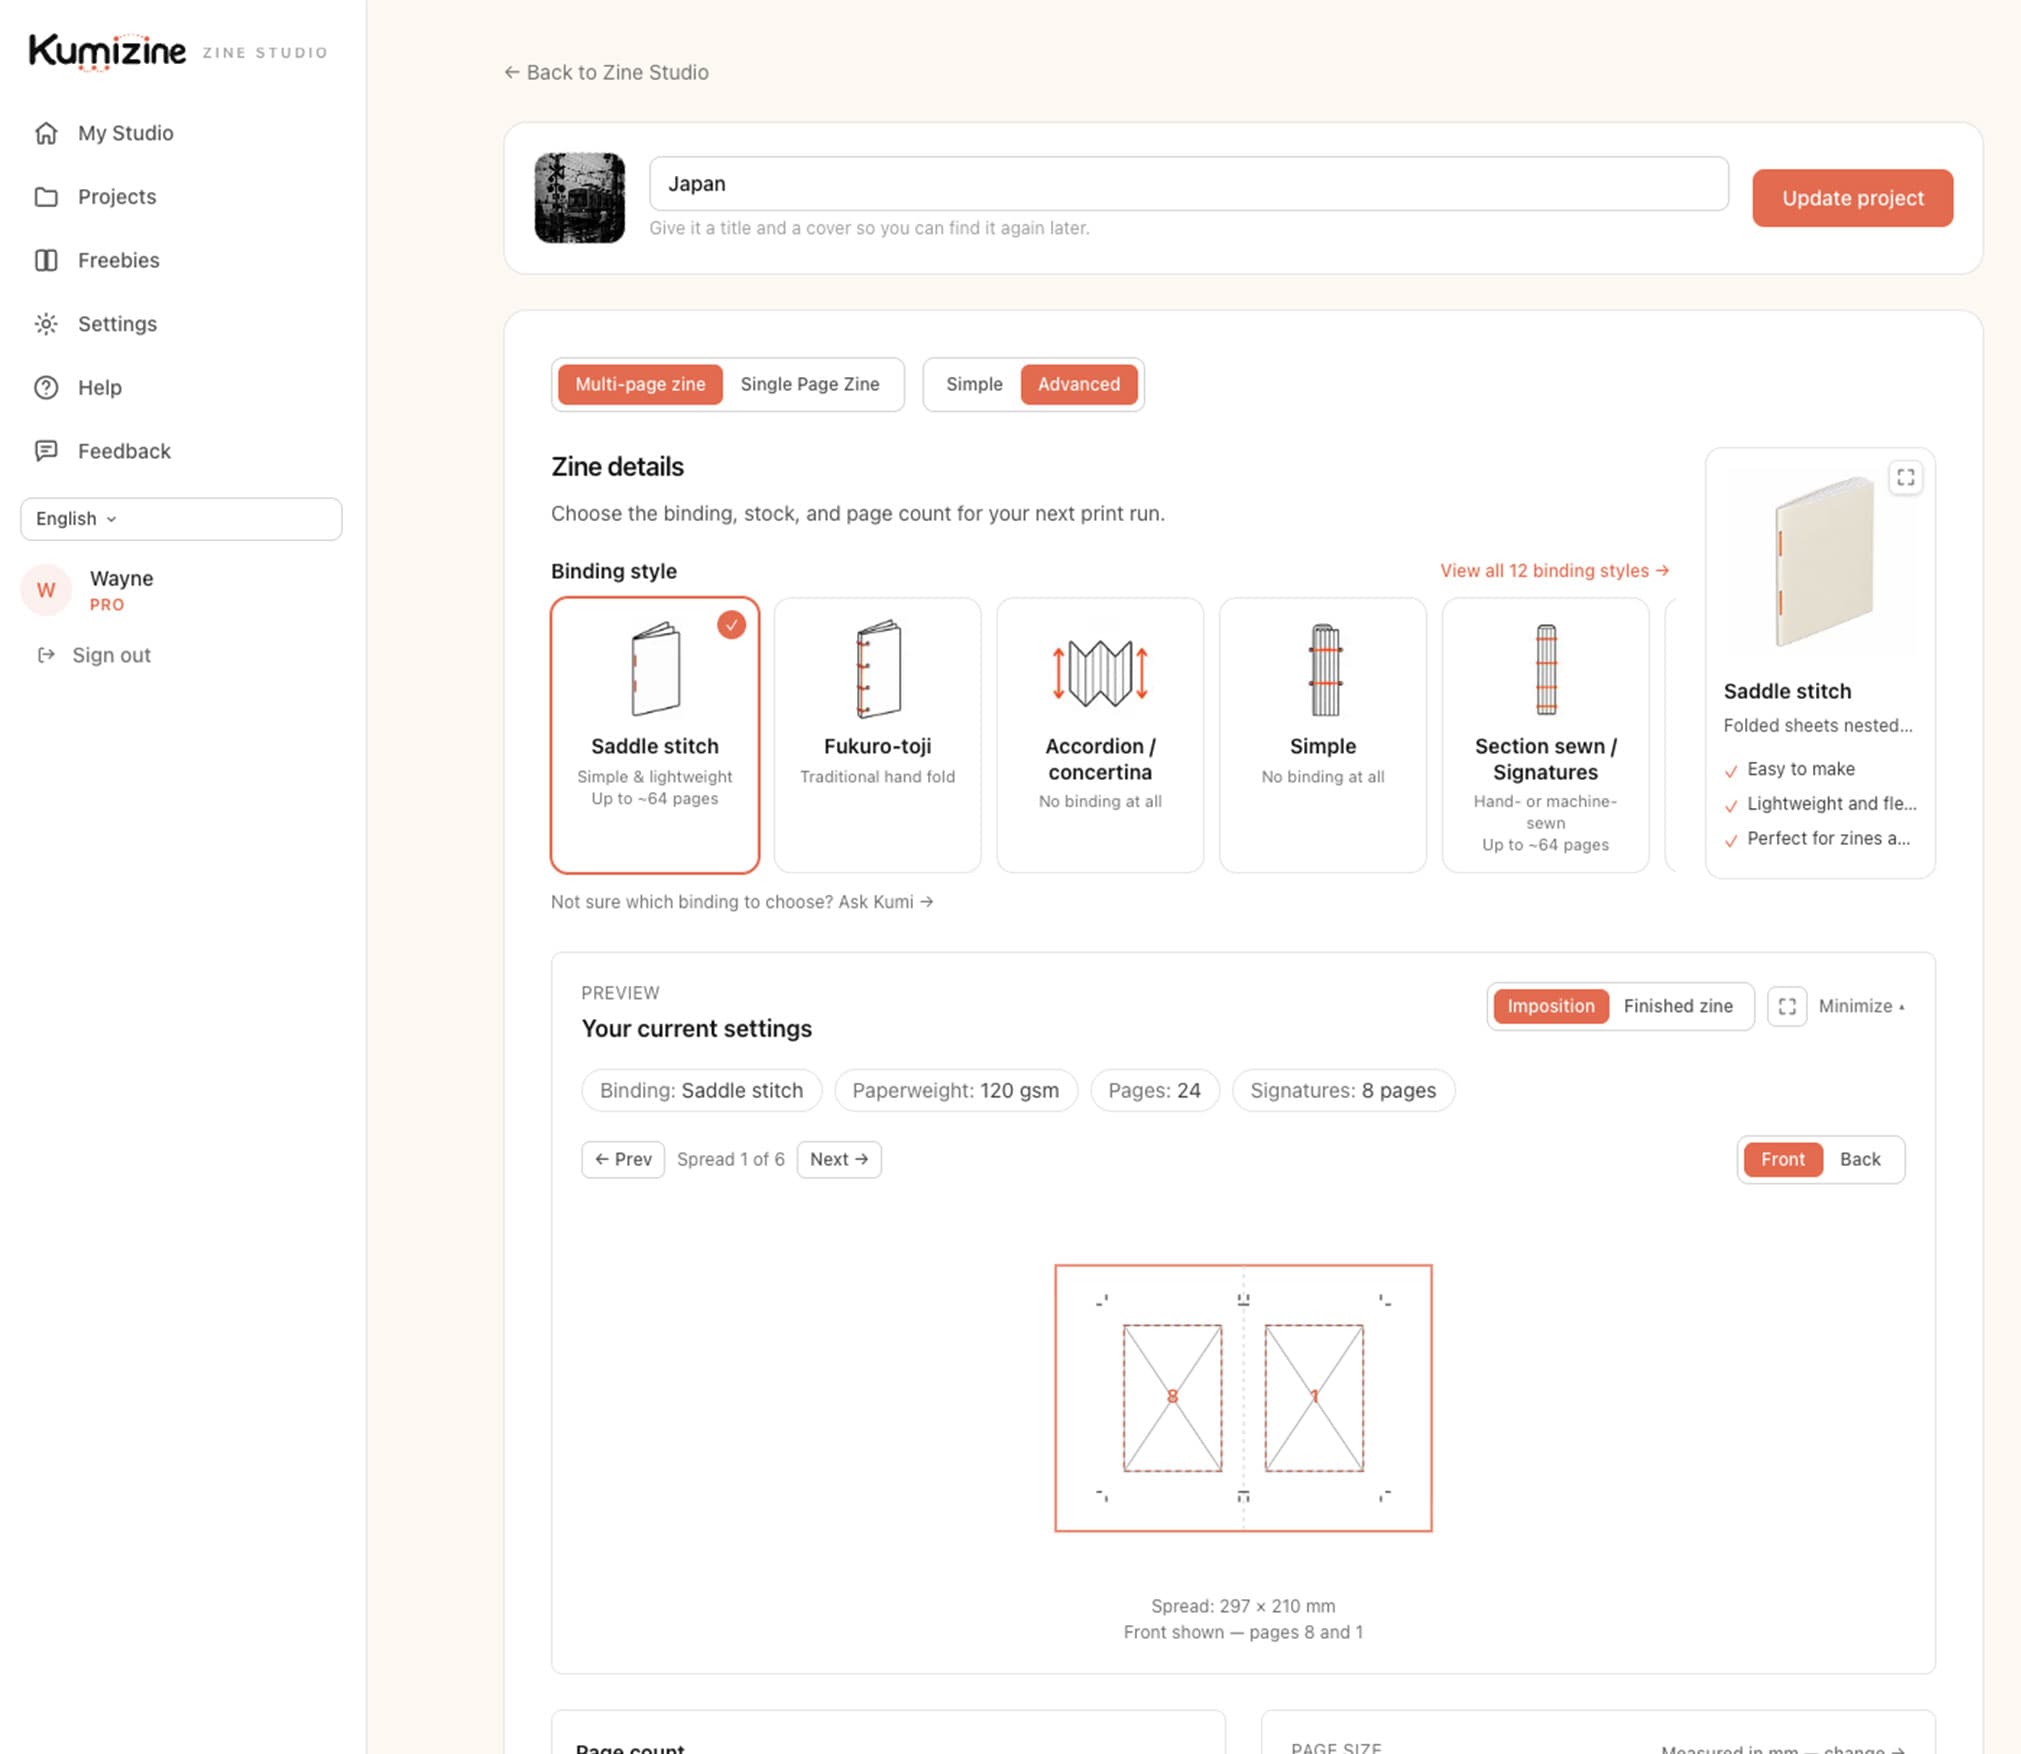
Step 1
Set the page size, page count, and binding so the photo sequence is being designed for a real object, not just a screen order.
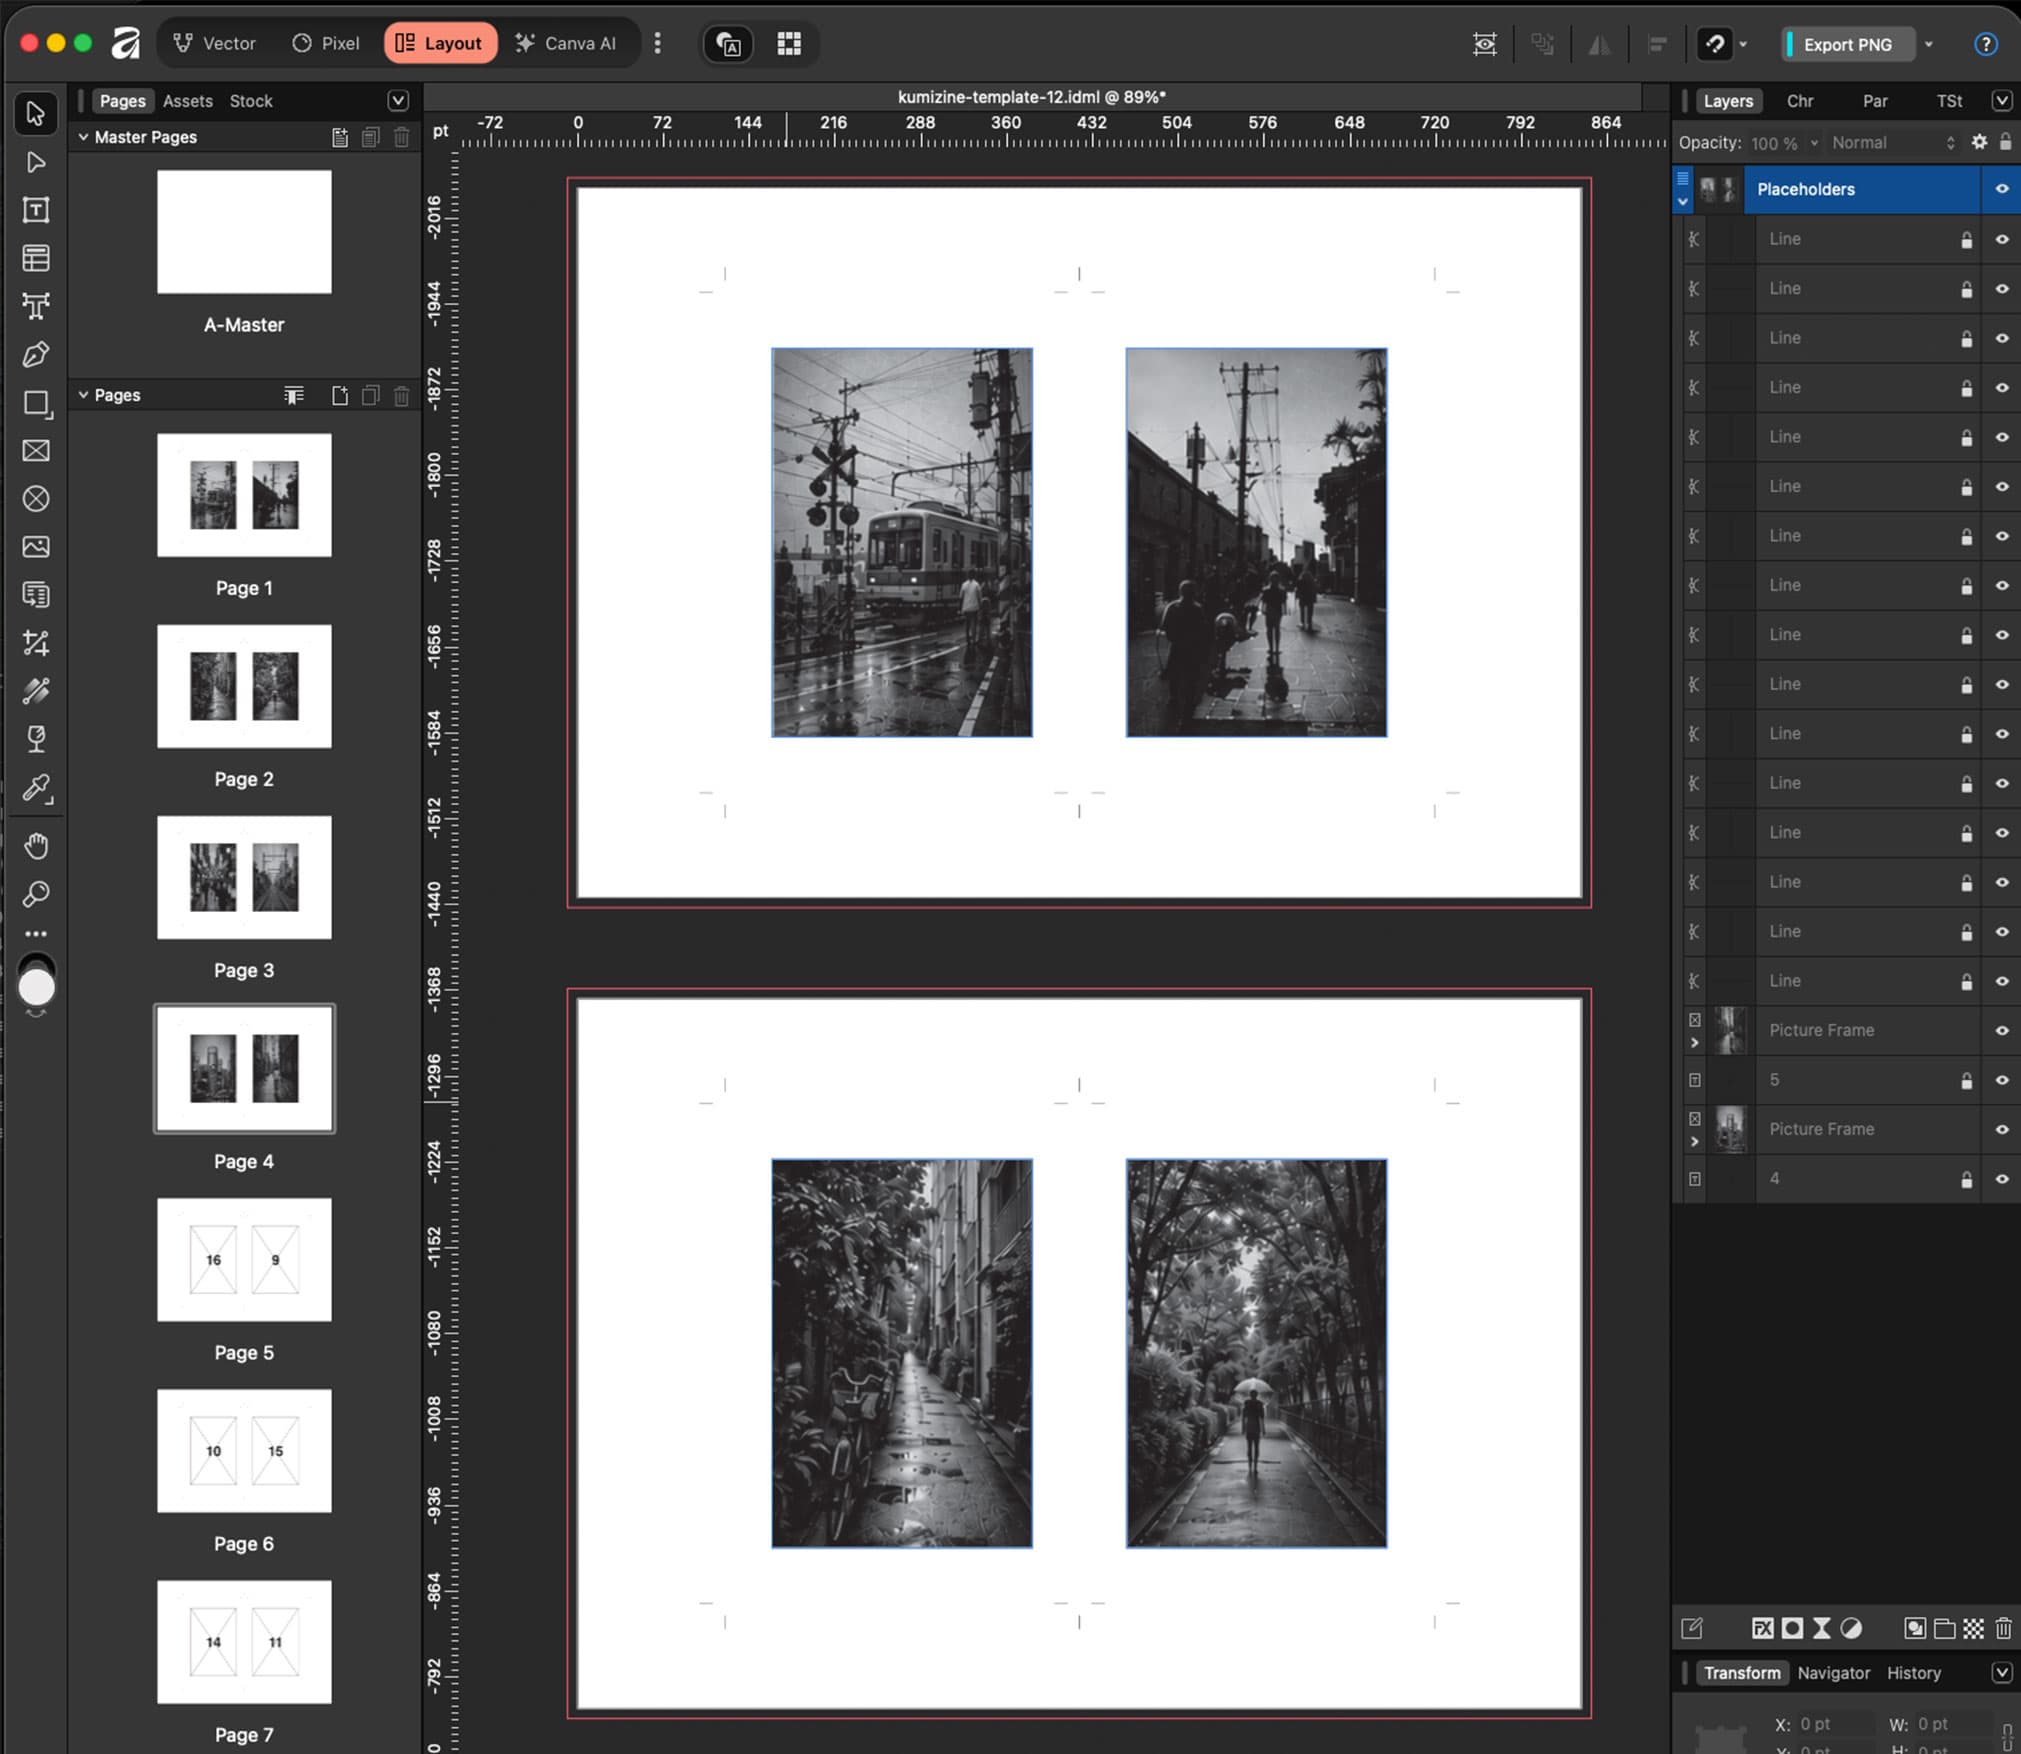
Step 2
Download the layout with page order and spread positions already resolved, so you can place photographs into a real print structure.

Step 3
Work inside the prepared layout to test pacing, pairings, and scale without manually rebuilding the book’s production order.
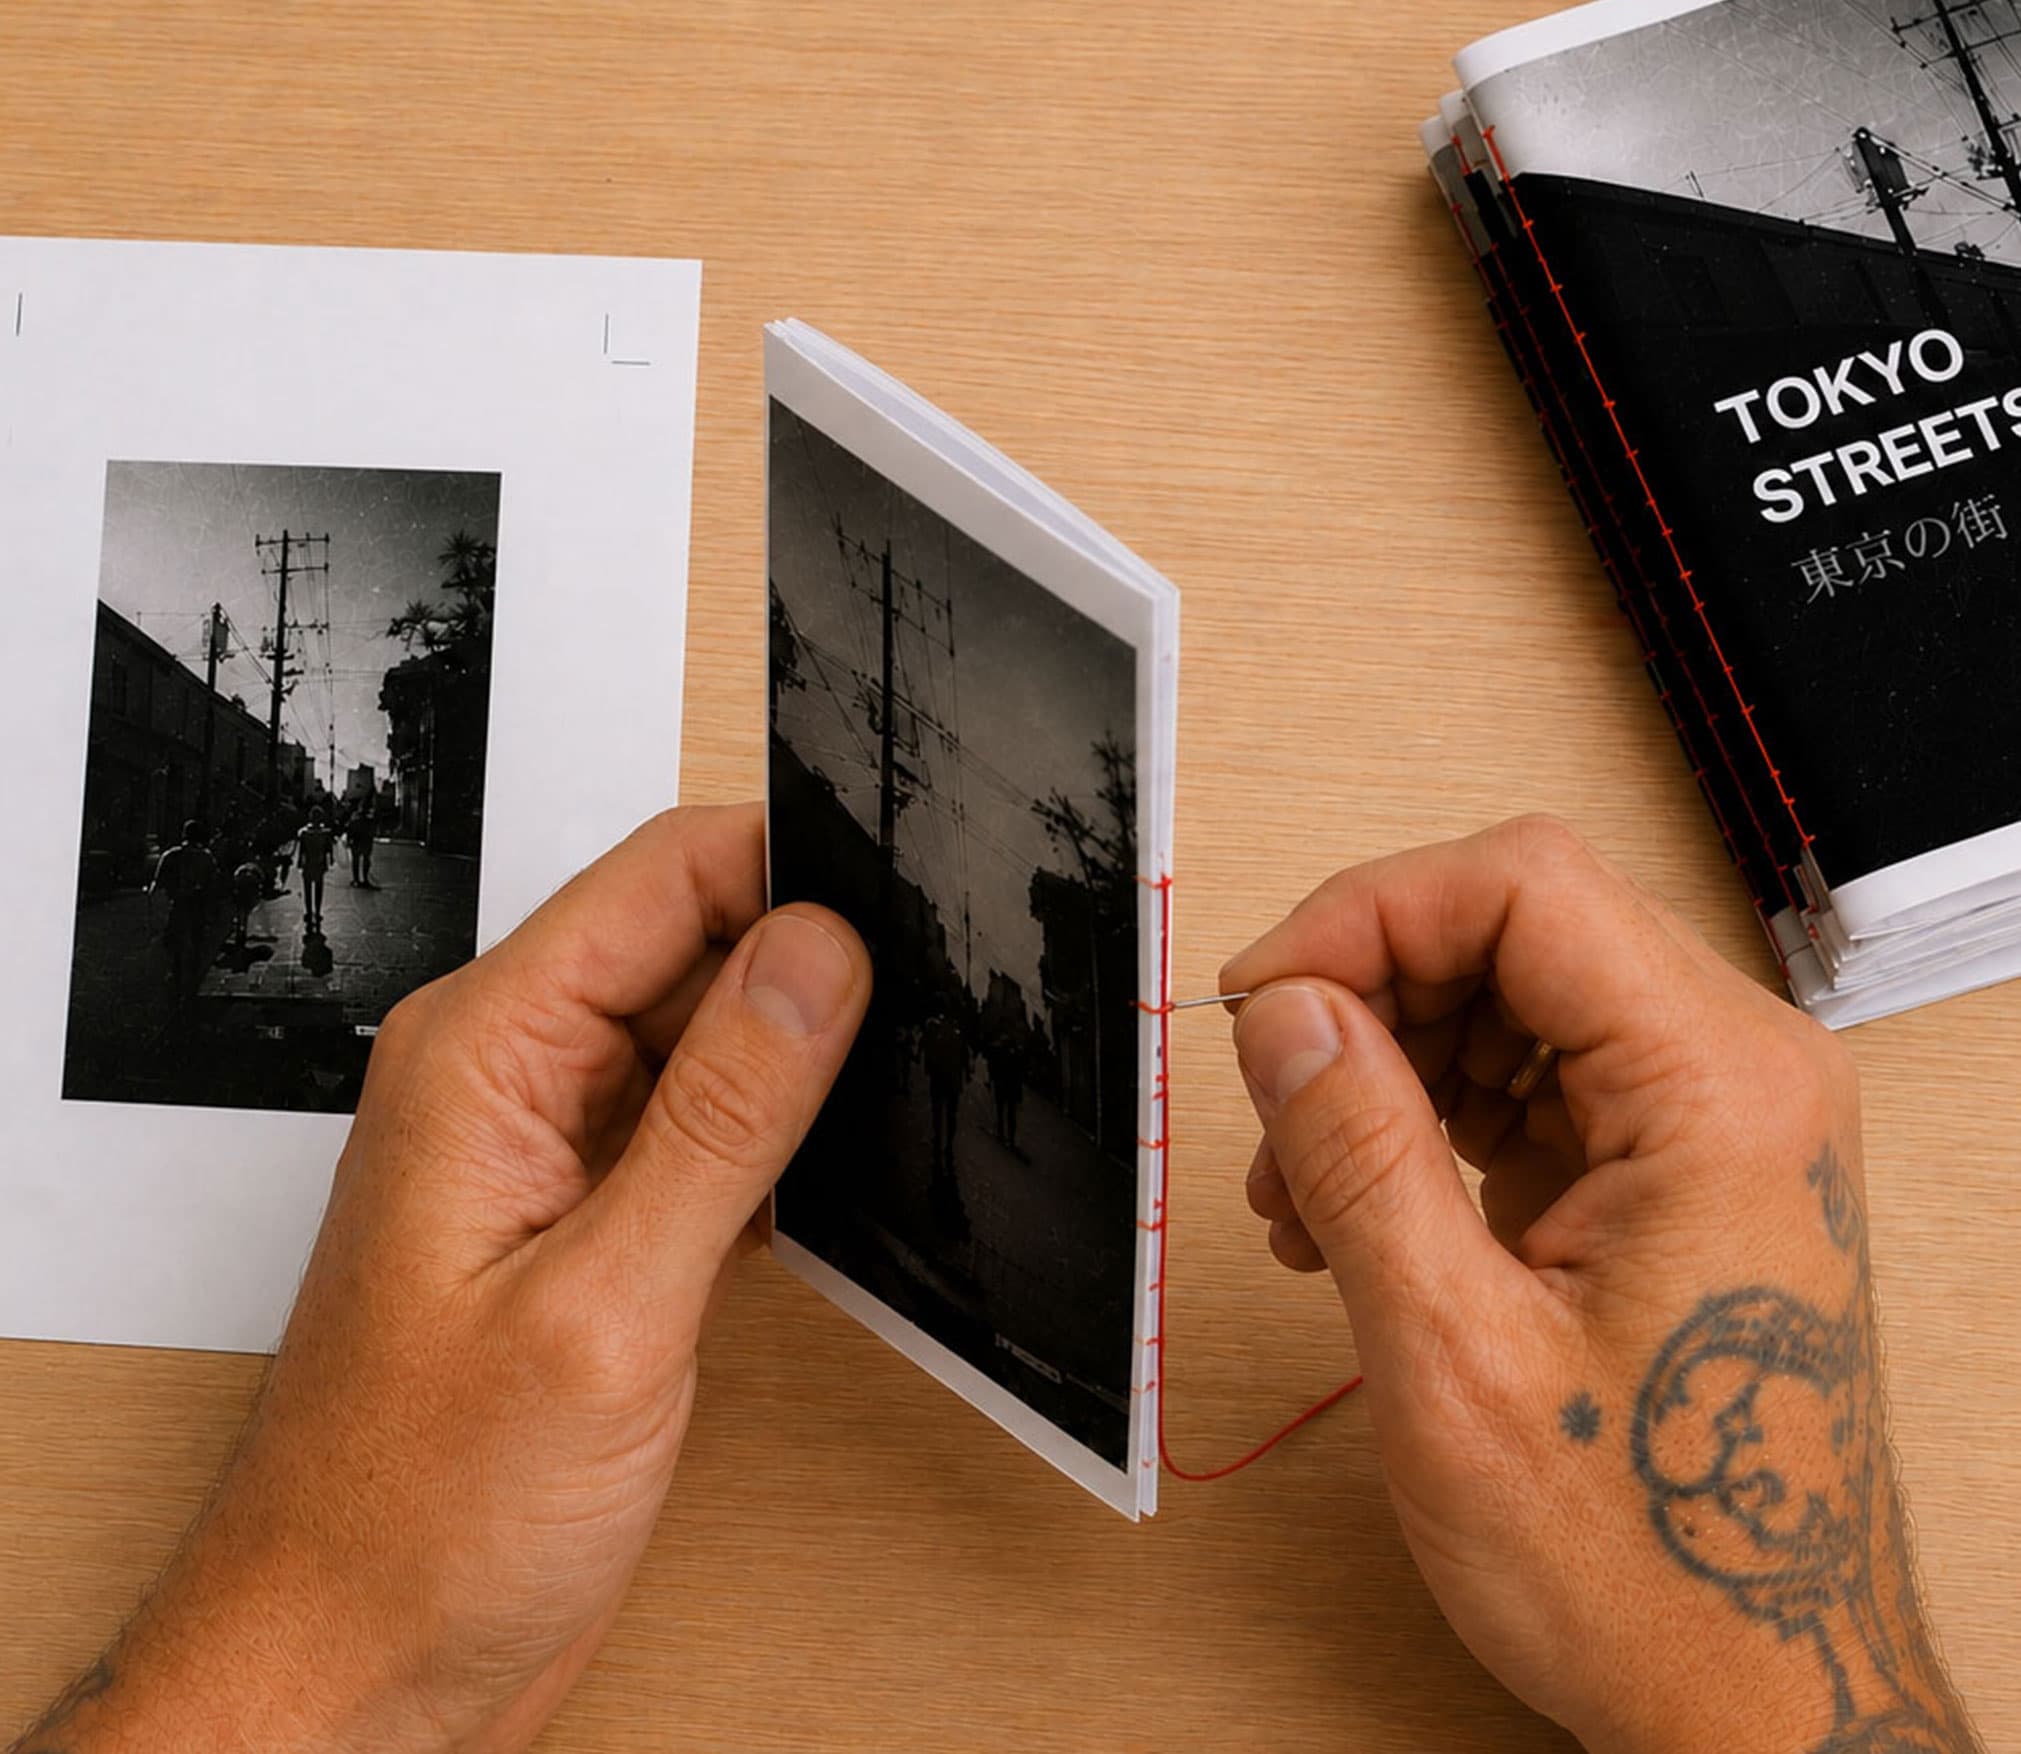
Step 4
Use the final layout to test the object as a booklet or bound piece, not only as a digital series of pages.
Yes. The core problem is still physical page order, spread planning, and print assembly. That matters just as much, and often more, for image-led work.
Because the finished reading order and the print-production order diverge once the project becomes a folded or bound object. Sequencing inside the real structure is safer.
Absolutely. Spine behavior, fold direction, and binding clearance all affect what image detail survives comfortably near the center or edge.
If the images are ready, the next step is giving them a physical structure that prints and assembles cleanly.